- About
- Basic Features
- Introduction
- Platform Tenant Management
- Platform User Management
- TOTP Certification
- Basic Data Definition
- Media Management
- Command Management
- Mail Server Configuration
- Job Center
- Platform Host Resource Pool
- Platform Database Pool
- Platform Proxy Nodes Management
- Platform Components Management
- Additional Information Management
- Operation Log
- Connection Concurrency Configuration
- Customization of Platform Styles
- Parameter Templates
- License
- Monitor Large Screen
- Overview Display
- Tenant User Management
- Tenant Host Resource Pool
- Tenant Proxy Nodes Management
- Menu Management
- Report Center
- MogDB/openGauss
- Backup Recovery Center
- Monitoring
- Alert Center
- Inspect Center
Platform Proxy Nodes Management
Function Entrance
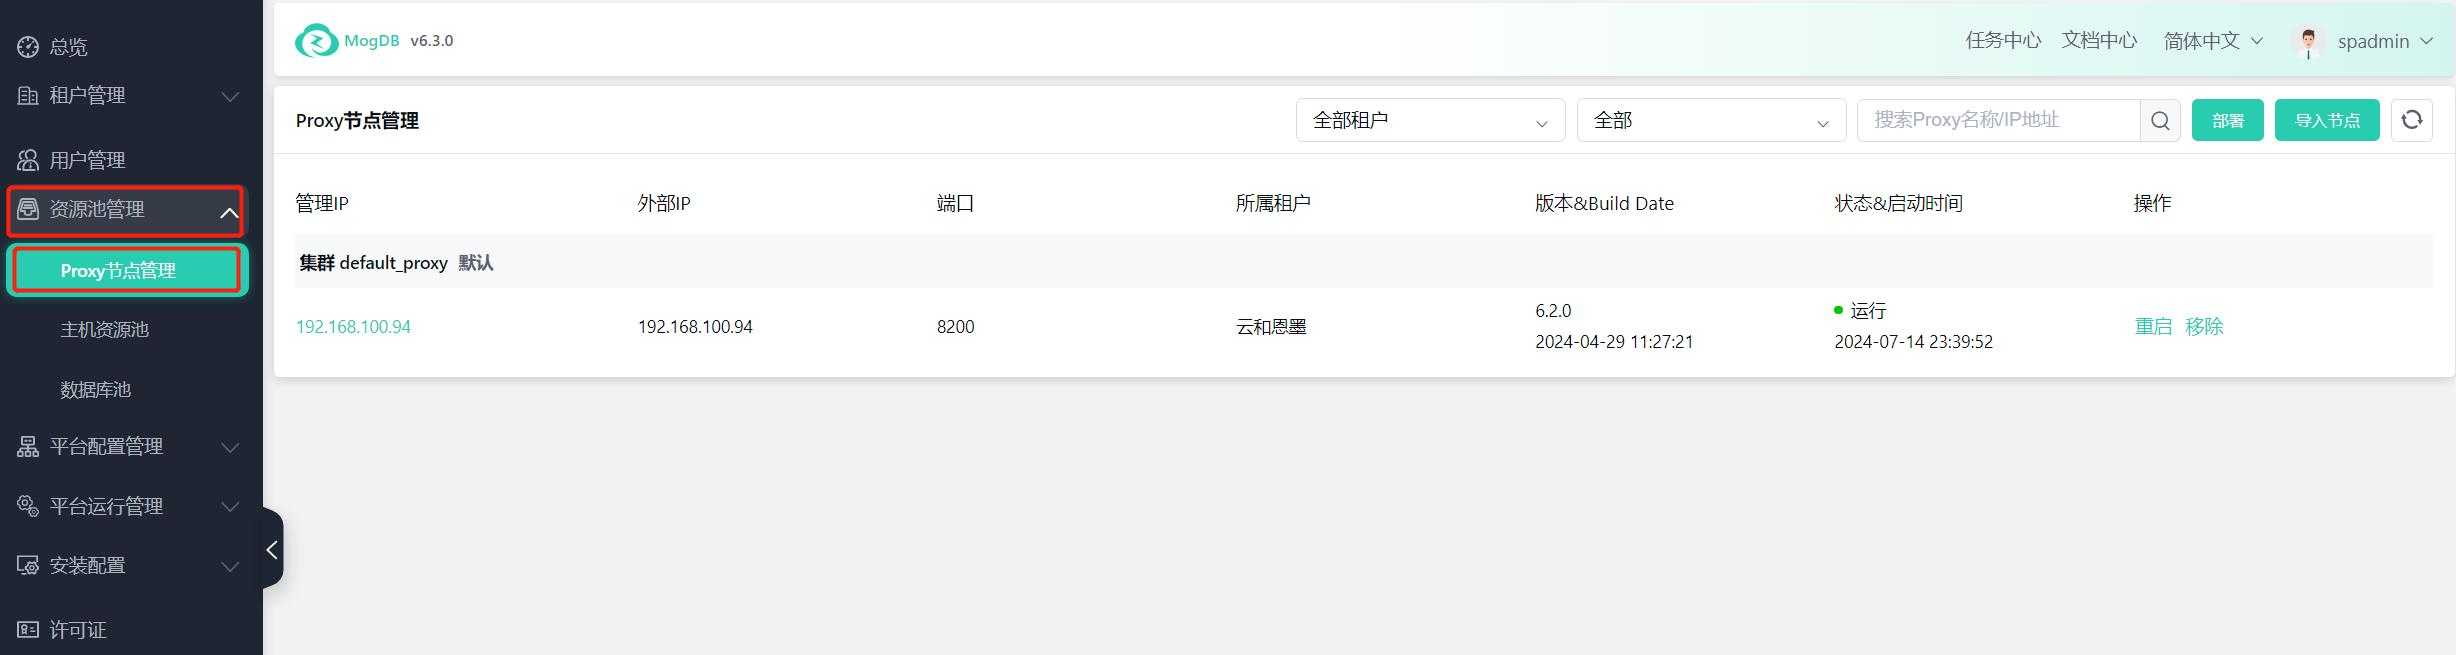
Log in as a platform management user --> Resource Pool Management --> Proxy Nodes Management
Function Description
This step is also found in the installation manual. The first installation operation after deploying the software is to install the Proxy (agent). This can reduce the troubles caused by network isolation.
In a network isolation zone, only one proxy server needs to be deployed to ensure that the proxy server can communicate with other database servers, and that the proxy server can communicate with the platform, reducing the need to open the network from the platform to the database target host.
Under one tenant, install one or a group of proxies (Proxies), multiple jump servers can form a cluster, and different host resource pools can use different proxies (Proxies).
Operating Instructions
Proxy Installation
Currently, Proxy only supports operating systems above CentOS/Redhat 7.
Click on platform management --> Proxy node management, and click the deployment button.
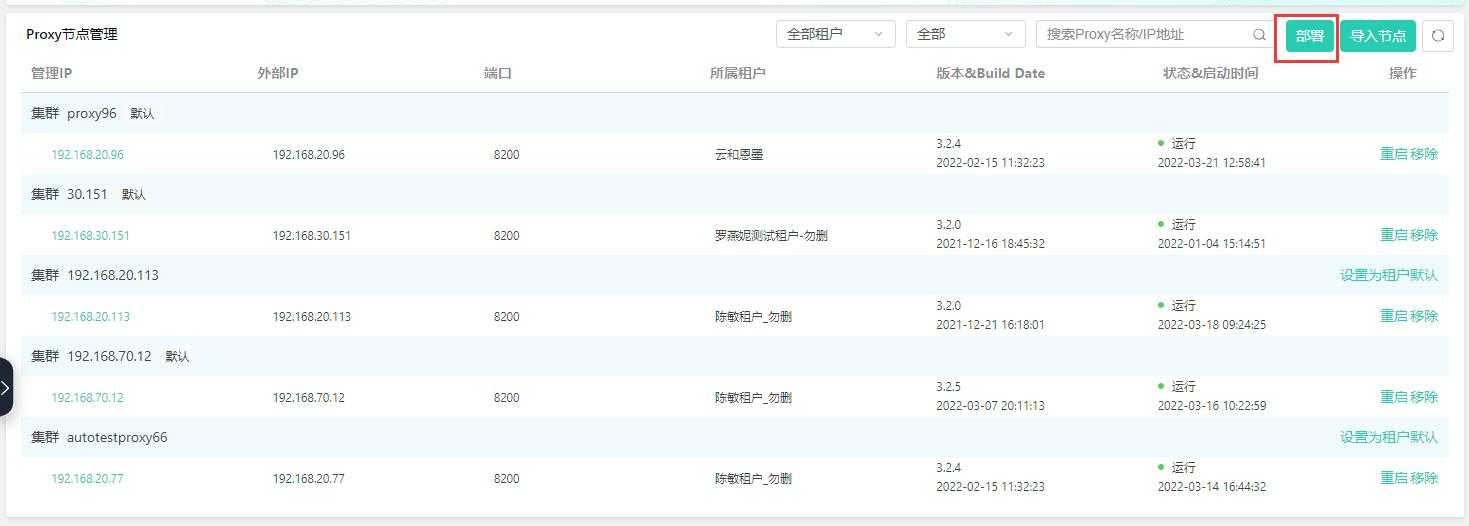
The following interface pops up:
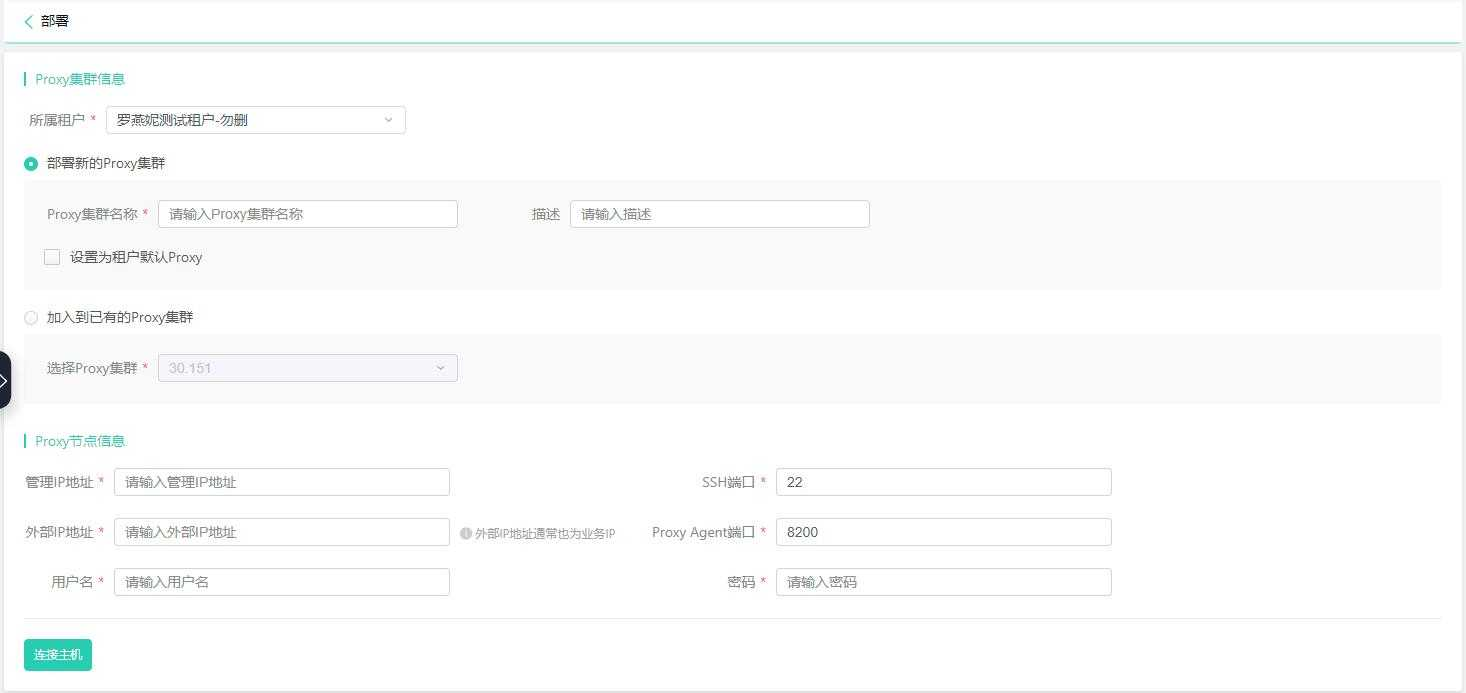
Enter the corresponding information and connect to the host to obtain the host-related information.
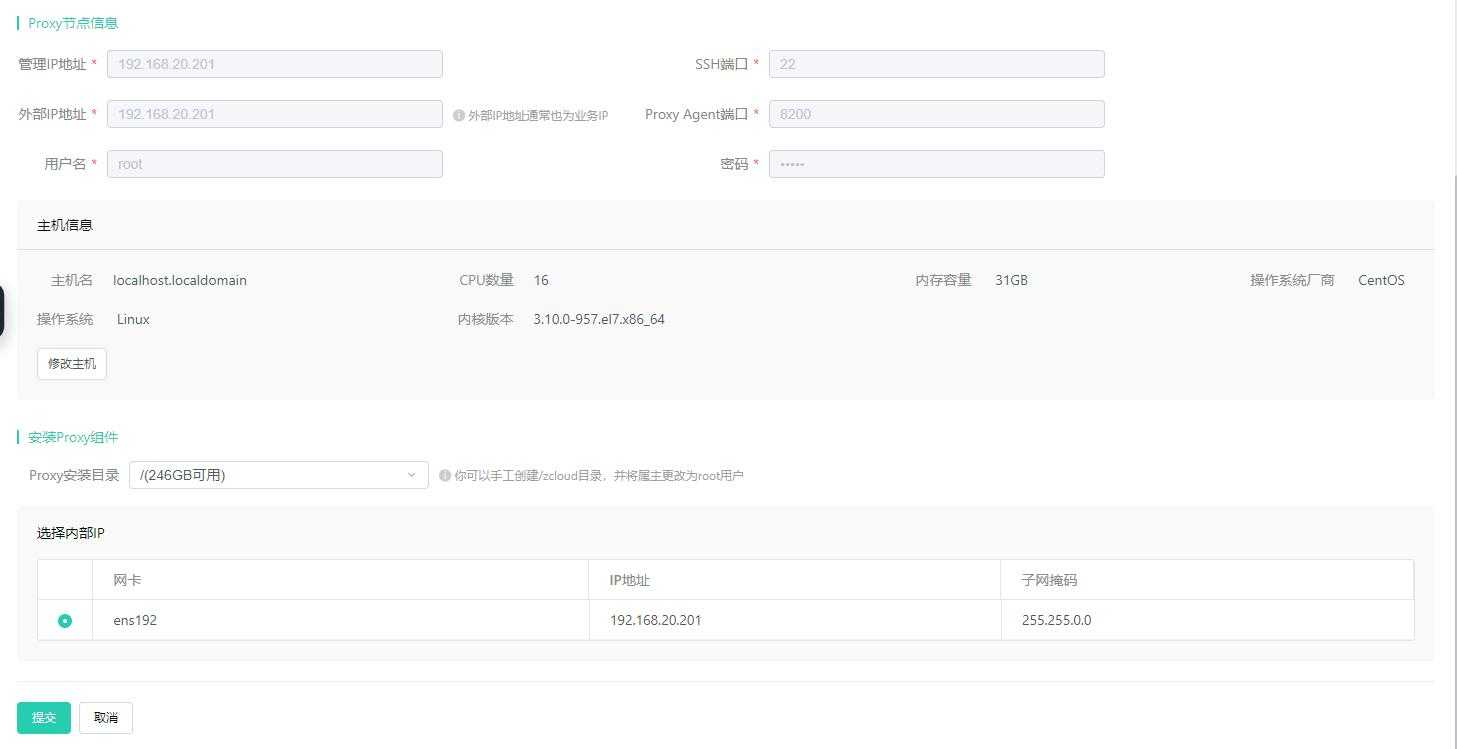
Select the installation directory and the target network card, and click confirm. The background will automatically install the uploaded Proxy medium and initialize the installation of Proxy and related components.
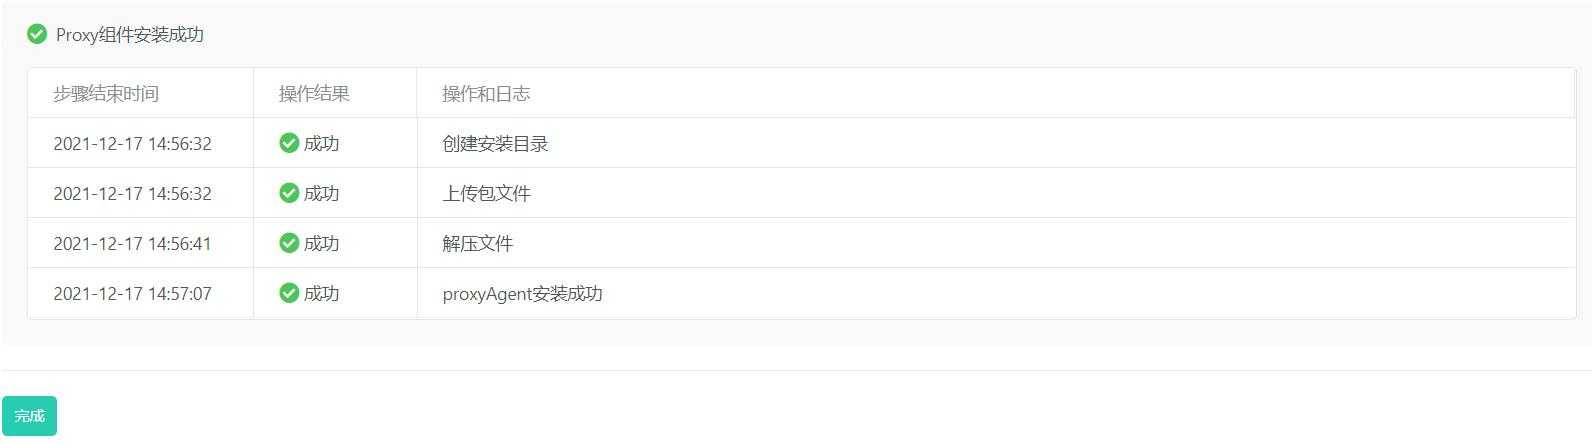
After the installation is complete, click on the IP to go to the detailed interface to see the host and related deployment information, as well as Proxy-related components.
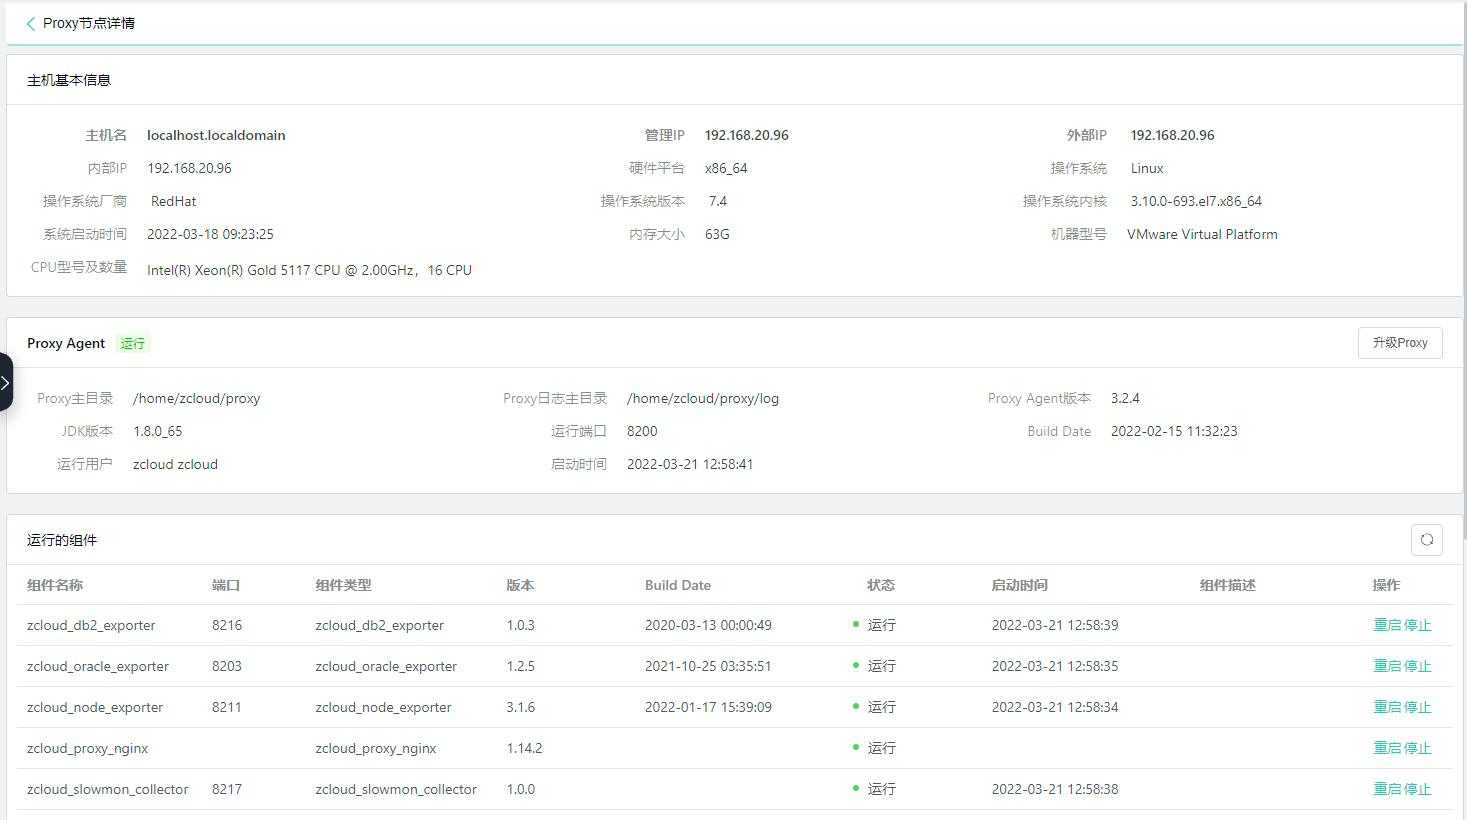
You can manage the related components on Proxy on this page.

Deploying Proxy Cluster
After deploying a Proxy node, you can continue to deploy additional nodes to form a Proxy cluster.
Click "Deploy", select "Join an existing Proxy cluster", and drop-down select the Proxy to join.
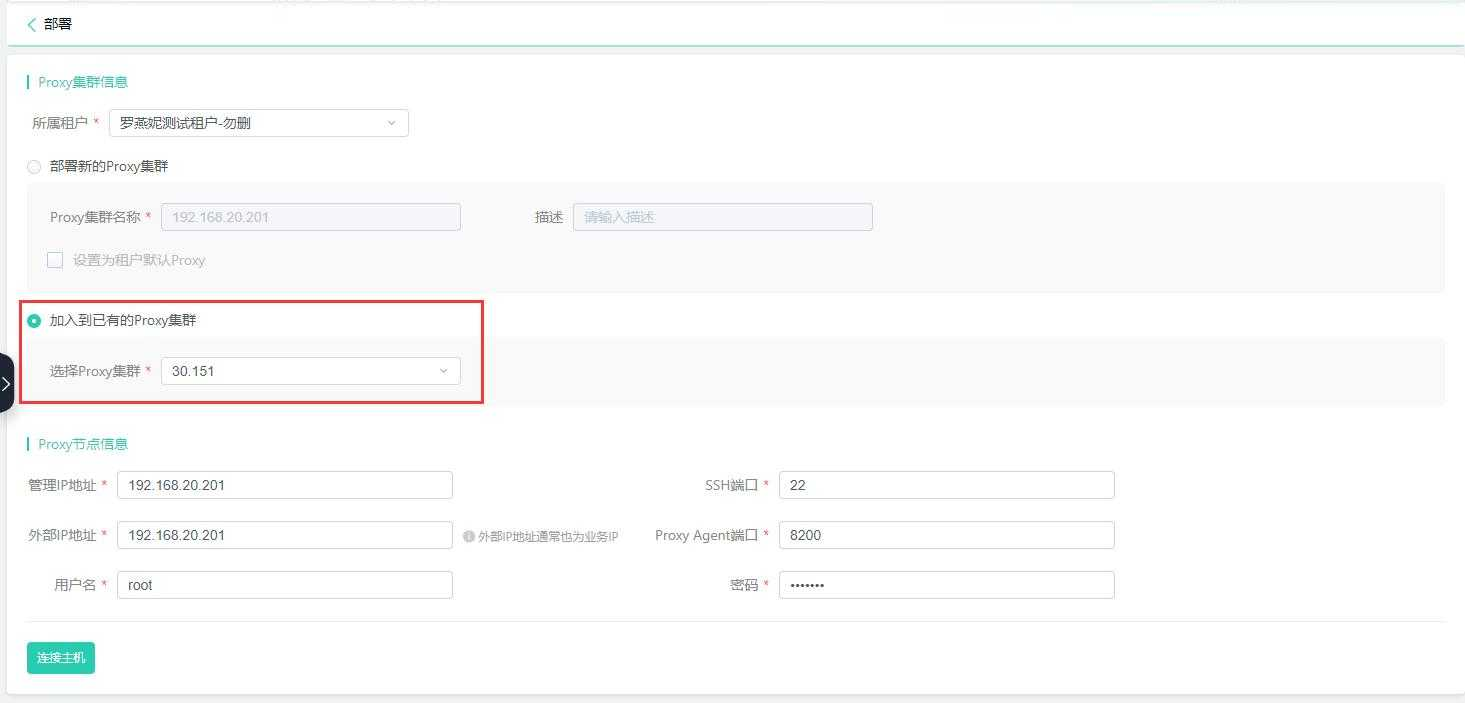
Enter the Proxy node information: IP address, SSH port, Proxy management port, server Root or sudo permission user, password, and operate according to Proxy installation.